Table of Content
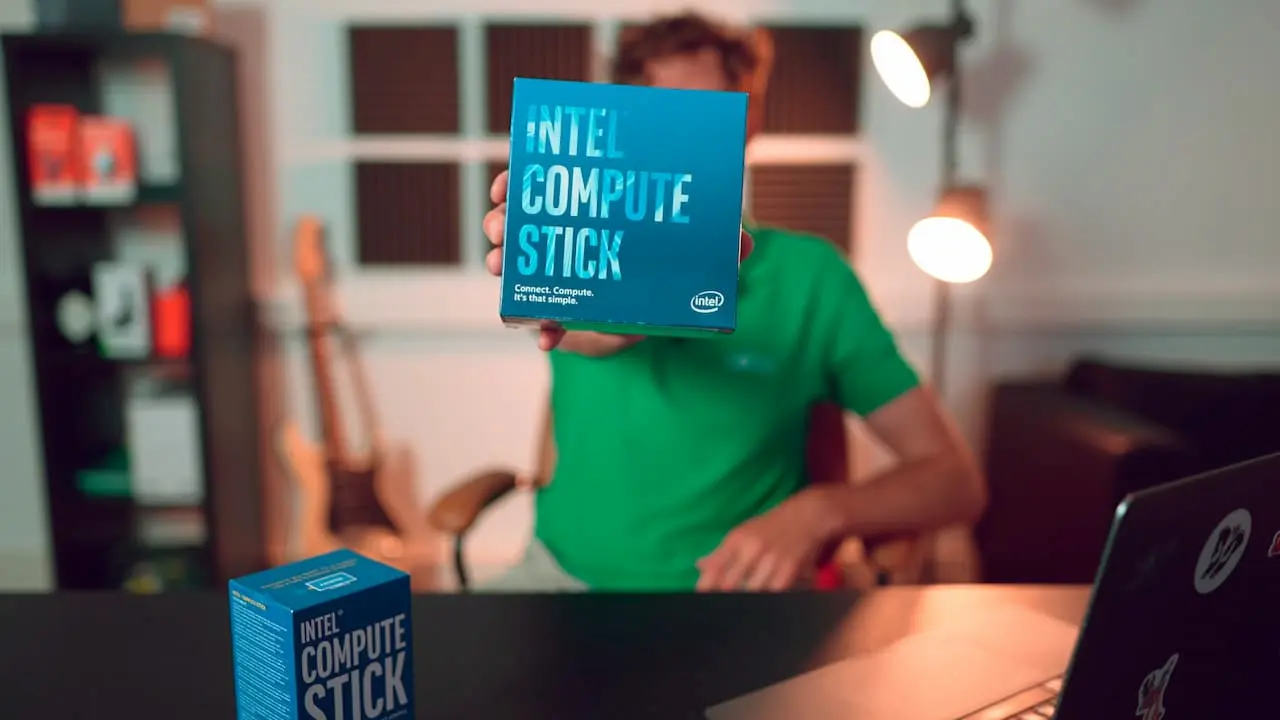
When it comes to pocket-sized PCs, you could say that the Intel Compute Stick is exactly what users were looking for. It garnered praise from The Verge as “a pretty neat gadget to carry around with you even if it's not something you'll plug in every day.”
Thanks to its compact, USB-like design, you can easily tuck it behind any screen to create a smart display ideal for lightweight digital signage applications. This guide will discuss its capabilities and limitations as a digital signage player and then take you through, and integration with Look DS for the ultimate viewing experience.
.webp)
What is the Intel Compute Stick?
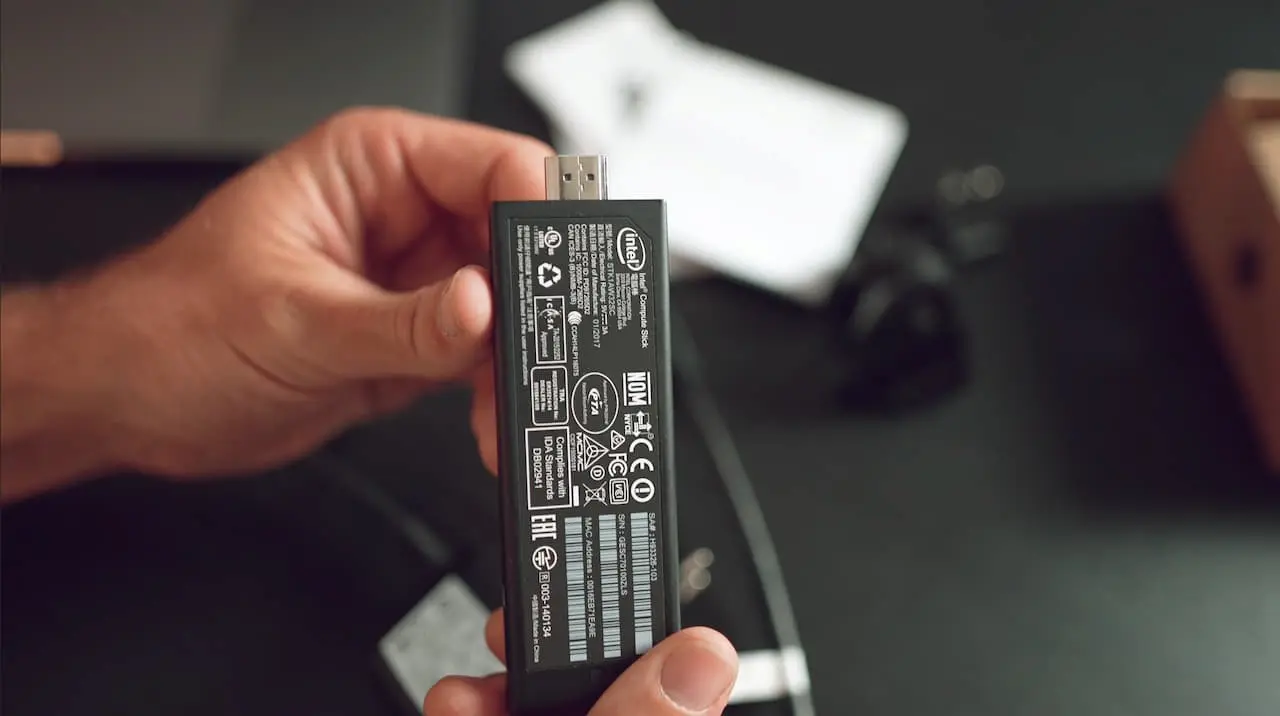
The Intel Compute Stick is a mini-computer that you plug directly into an HDMI port on a TV or monitor. According to Intel, it was designed to be smaller than a conventional desktop while still offering comparable performance While it’s not the only device with the same USB-like make, it's popular because it's easy to use and affordable.
Other similar devices like the ASUS Chromebit and Lenovo Ideacentre Stick are also available, each with its advantages. However, the Intel Compute Stick stands out because it runs Windows, which a lot of people are already familiar with. It's good enough for everyday tasks and simple digital signage applications.
Even though Intel officially discontinued the entire Compute Stick line, you can still find them at some stores. But if you’re looking for a similar form factor with more power and flexibility, Intel has shifted its focus to the NUC Mini PC line.
The latest generation, the NUC 13 Pro, has received positive reviews for its impressive performance and compact size. It has more powerful processors (up to 13th Gen Intel Core i7) and dedicated RAM options of up to 64GB. Compared to the Intel Compute Stick, it can handle more demanding digital signage content and applications. Note that it doesn’t have the exact plug-and-play simplicity of the Compute Stick and you can get it with a starting price of $340.
If you’re interested in finding other Mini-PC options applicable for digital signage, we have a list of the top 10 contenders.

Intel Compute Stick Overview and Specs
The first generation of the Intel Compute Stick was launched in early 2015 and was initially powered by an Atom Z3735F processor, a quad-core chip clocked at 1.33Hz with speeds up to 1.83GHz. It came in two configurations:
- Windows 8.1 with Bing model: This version had 2GB of RAM and 32GB of eMMC storage for basic computing tasks and casual use.
- Ubuntu model: This version came with 1GB of RAM and 8GB of eMMC storage and was targeted towards developers and Linux enthusiasts who preferred an open-source operating system
In mid-2015, Intel announced a second generation of Compute Sticks that would be powered by Core M processors, with more processing power and 4GB of memory for more intensive applications and content creation plus an SSD card slot for additional storage. The 802.11ac Wi-Fi and Bluetooth 4.2 ensured a reliable and fast wireless connection. Notably, both models ran on the 64-bit version of Windows 10.
These updated devices were released in Q1 2016 and came in two configurations:
- STK2m3W64CC: Powered by a Core m3-6Y30 processor with 64GB of eMMC storage.
- STK2m364CC: Powered by a Core m5-6Y57 processor with 64GB of eMMC storage.
The Intel compute stick has had a positive reception in the market, but to be fair these reviews are for the second generation compute sticks. The first generation lacked in performance and most users reported issues regarding Bluetooth connectivity.
Setting Up Your Intel Compute Stick
Getting your Intel Compute Stick up and running is a straightforward process that involves a few simple steps:
- Find an available HDMI port on your TV, monitor, or projector and plug the Compute Stick directly into the HDMI port. You can use the HDMI extender cable if the space is limited.
- Plug the power adapter into a wall outlet and connect the other end to the micro USB port on the Compute Stick.
- Now turn on your computer stick by pressing the power button on the side should start automatically.
- Connect a wired or wireless USB keyboard and mouse to the USB ports on the Compute Stick or via Bluetooth; you will need them to navigate the screen. You can also connect other devices like external storage drives, headphones, or game controllers.
- Choose your preferred language and region settings, and connect to your Wi-Fi network to access the internet. Then set up Windows by creating or signing into your Microsoft account.

Turning Intel Compute Stick into a digital signage player using Look DS
When you’ve set up your Intel Compute Stick, you will need digital signage software for remote management of your content. The Look Content Manager has you covered.
Download and Install Look DS:
- Visit the Look DS download page and navigate to the section for Windows downloads.
- Select the appropriate 32-bit version of the Look DS application for your Intel Compute Stick.
- Download the installer and run it on your Compute Stick.
- Follow the on-screen instructions to complete the installation process. This may take some time as the software updates and configures itself.
Link to Look CMS:
- Launch the Look DS application on your Compute Stick.
- You will be prompted to enter a 6-digit code to link the device to your Look CMS account.
- Enter the code provided by your Look CMS account and complete the linking process.
Create and Send Playlists:
- Within your Look CMS account create playlists containing the media content (images, videos, text) that you want to display on your signage.
- Assign the playlists to your Intel Compute Stick device.
- The Look DS app on the Compute Stick will automatically download and start playing the content from the assigned playlists.

Content Examples Possible With This Integration
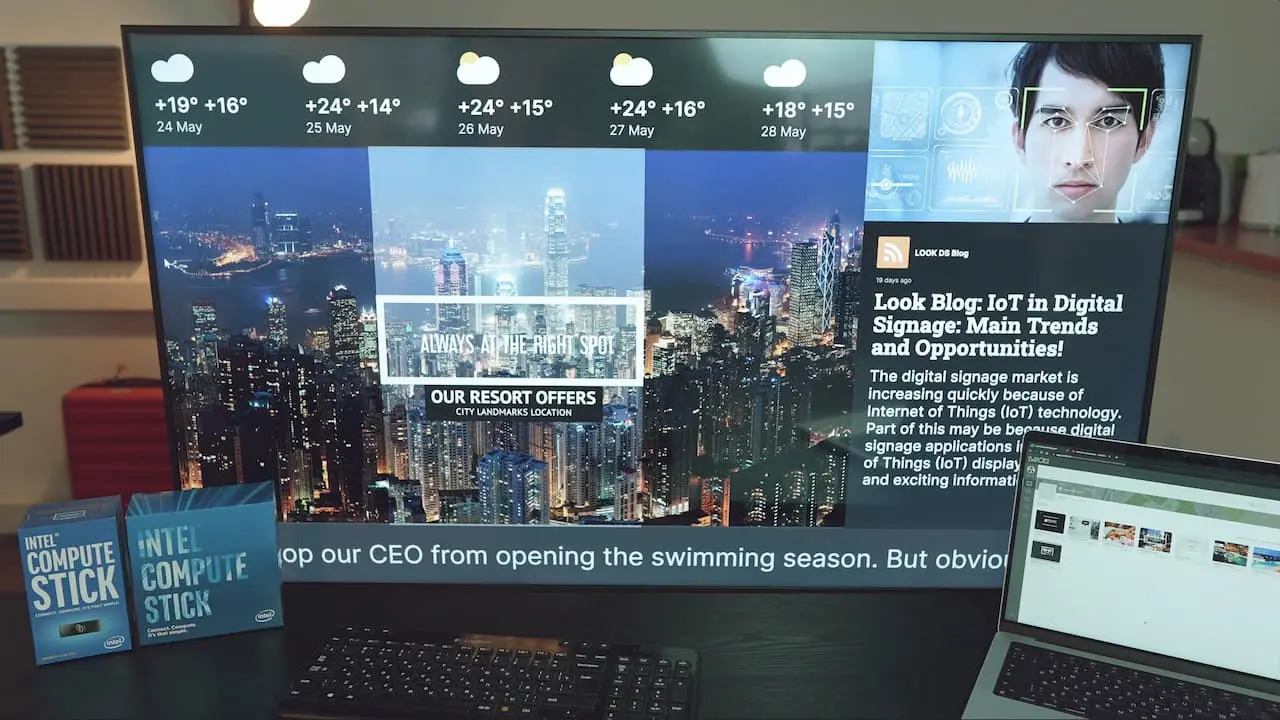
Let's take a look at what's possible when we combine the Intel Compute Stick with Look DS to create dynamic digital signage content. We'll add a simple layout with a couple of streaming apps and a ticker to our signage display.
It’s important to note that while Look DS is fully capable of supporting and delivering 4K content, the maximum supported resolution by the Intel Compute Stick is 1080p. The limited 2GB of RAM, might not be able to smoothly render high-resolution content. This is because the RAM is shared between system processes and video rendering.
Despite the limitations, you can still create compelling content:
- Streaming Apps: You can display live news feeds and social media streams in 720p or 1080p for a good balance of quality and performance.
- Ticker: A scrolling ticker displaying headlines or announcements can easily be rendered in lower resolutions, leaving resources for other content.
- Images and Videos: Showcase high-quality images and videos from YouTube up to 720p or 1080p to ensure smooth playback and avoid overtaxing the Compute Stick's resources.
Our expert opinion on the Intel Compute Stick for digital signage: This is a completely working option for simple tasks, especially for those users who already have these devices in their networks. With them, you can utilize the Look system without any problems and in the shortest possible time.
But we strongly do not recommend purchasing these devices as new ones, since the market is already full of more modern and powerful devices, even on Windows, at least on Android.
Watch our How to Use Intel Compute Stick for Digital Signage video to learn more.
Intel Compute Stick With Digital Signage FAQs
Can I use the Intel Compute Stick for my business's digital signage?
Yes, you can, but you have to be fully aware of the limitations and that’s why we recommend it for use only if you already have one. A new Intel compute stick will cost you $129, which is pricey compared to other more capable contenders like the cheaper streaming device Chromecast with Google TV.
Can I run multiple displays with a single Intel Compute Stick?
It really comes down to the RAM here and as we said, you may max it out. While it is technically possible to connect multiple displays using USB-to-HDMI adapters or a USB hub, the limited RAM of the Intel Compute Stick could become a bottleneck.
Each additional display adds to the graphical processing load, and with only 2GB of RAM, you might experience significant performance issues, especially if you're running demanding applications or displaying high-resolution content.
Can I remotely manage and update the content on my Intel Compute Stick?
Absolutely! Once you have installed the Look app and configured it, you can immediately start creating and managing your signage content. Take advantage of the free 14-day trial period today and experience all the features without any limitations.


.webp)

