How to set up MacOS devices with Look DS
With Look Digital Signage, you can launch your screens’ content using supported MacOS devices like the Apple Mac Mini.
How to Set up MacOS Devices with Look
The initial setup procedure will be similar from device to device. We recommend you set the additional configurations if you are going to use your MacOS-based device only as a digital signage media player. Follow the steps below to learn how to set the Look Player for your MacOS.
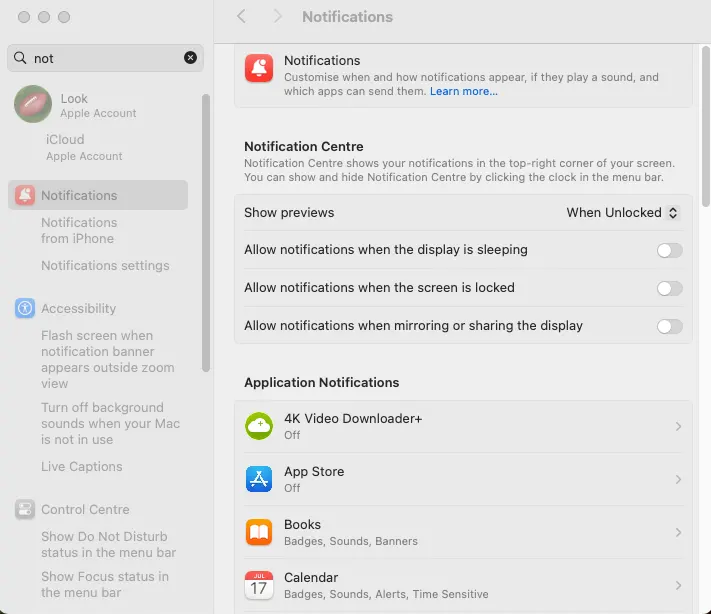
1. Disable all notifications: Click on the Apple logo at the top left corner of your screen. Select System Preferences, select Notifications, and turn off notifications for each app. By that, the chances of an interruption during your digital signage use will be reduced.
2. To prevent your device from going into sleep mode during operation hours, go back into your System Preferences, choose Energy Saver, then select Power Adapter, and move the slider option to Never.

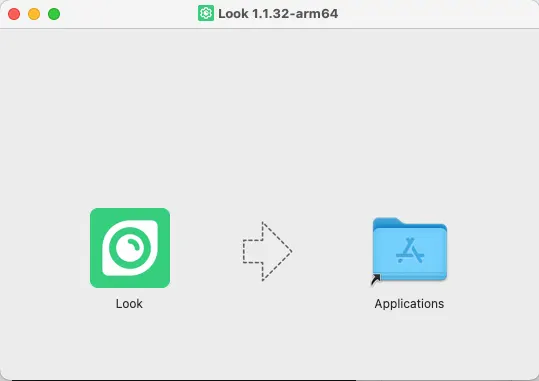
3. Download the Look Player App on your Mac device here. Select the correct version for your device — Apple Silicon or Intel. Once downloaded, move the app to your Applications folder.
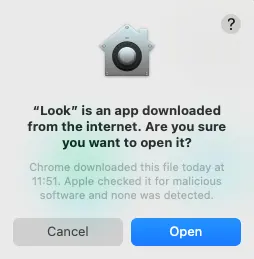
4. Open Applications and run the Look Player app. On the first launch, MacOS may show a security warning — just click Open to proceed.
Pairing Media Device with Look CMS Account
You will see the 6-digit pairing code specific to your setup on your device. Use this code to connect your device with your Look CMS account.
If you don’t have a Look CMS account, sign up here for free.
In Look CMS, click on the New Screen option located in the top right corner. In the modal window that appears, enter the 6-digit code, specify its name and time zone, and click the Add button.
Other Look App Player settings
To uninstall the Look Player, go to Applications, choose the Look Player with the right mouse button and the Move to bin option.


